8 Steps for Racking Pool Balls Perfectly
In any game of billiards, how you set up the balls in the triangle rack matters. It can impact the entire game more than you might think. When you arrange the balls well, it makes the game fair for both players. But if the arrangement is not good, one player might get an advantage, especially if some balls are grouped together for easy shots. Surprisingly, arranging the balls is a bit of an art. Keep reading to find out 9 tips to set up the pool balls perfectly.
Before we start, the best way to make sure you rack the balls well is to invest in racks!
1. Use a Rack
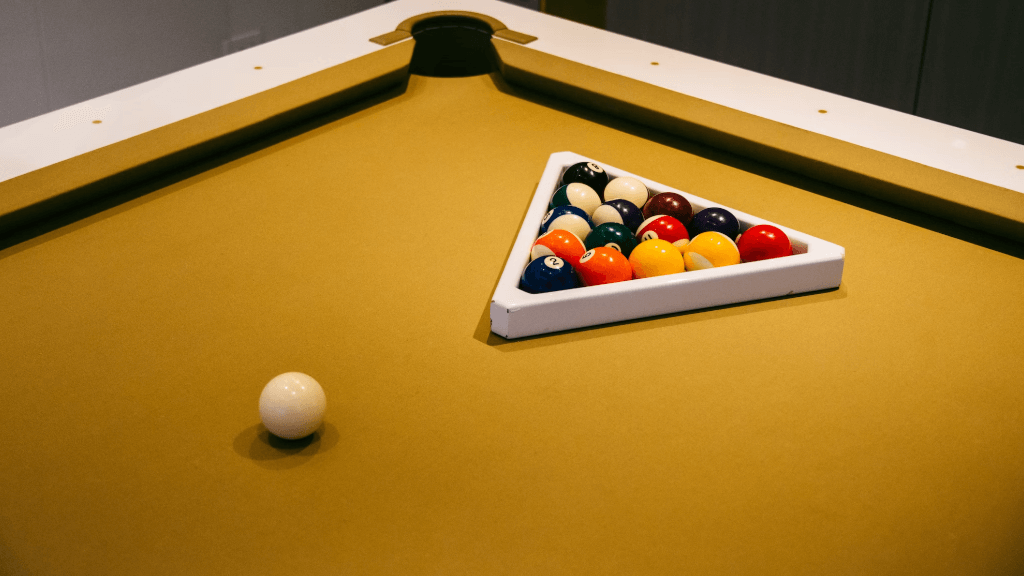
To play pool, you need to set up the game by using a triangle rack. This is a tool that helps arrange the pool balls in a neat formation before you start playing. The rack is shaped like a triangle, and it’s important to put it in the right spot on the pool table.
First, place the triangle rack at the bottom of the table, where you’ll find the side with the pockets. Make sure it’s right in the middle, so the balls are evenly spaced. The bottom of the triangle rack should be in line with the foot of the pool table.
The triangle rack helps you set up the pool balls in the right way, so you can start the game with a fair and organized arrangement. This makes it easier to break the balls at the beginning of the game and gives everyone a good chance to make successful shots during their turns.
For other games (like 9-ball) it is recommended you invest in other types of racks that can make setup easier.
2. Clean the Balls
Before you start playing pool, it’s important to clean the pool balls. It can be hard to tell, but pool balls will build up with dirt and debris over time. Cleaning the balls helps them roll smoothly on the table and keeps any dirt or dust from getting in the way of the game.
To clean the balls, you’ll need a soft cloth, like a microfiber cloth or an old t-shirt.
Gently wipe each ball with the cloth to remove any dirt or smudges. This will make the balls shine and look nice. When the balls are clean, they will move better across the table, which makes the game more fun and fair for everyone playing. So, remember to clean the balls before you rack them up to have a great game of pool!
3. Place the Cue Ball Behind the Head String
When playing pool, there’s a rule about where to put the cue ball. It’s called “placing the cue ball behind the head string.” This is like an imaginary line on the table. Imagine the table is divided into two parts by an invisible line – that’s the head string. When the game starts or after you hit the cue ball in a certain way, you need to put the cue ball behind this line.
This rule is important because it gives every player a fair chance to hit the other balls. When the cue ball is behind the head string, it’s like starting from a specific spot. This way, no player gets an advantage by putting the cue ball too close to the other balls. So, remember, if the game says to put the cue ball behind the head string, it means you should place it on the side of the table where you haven’t hit the balls yet. This makes the game fair and fun for everyone!
4. Arrange the Balls
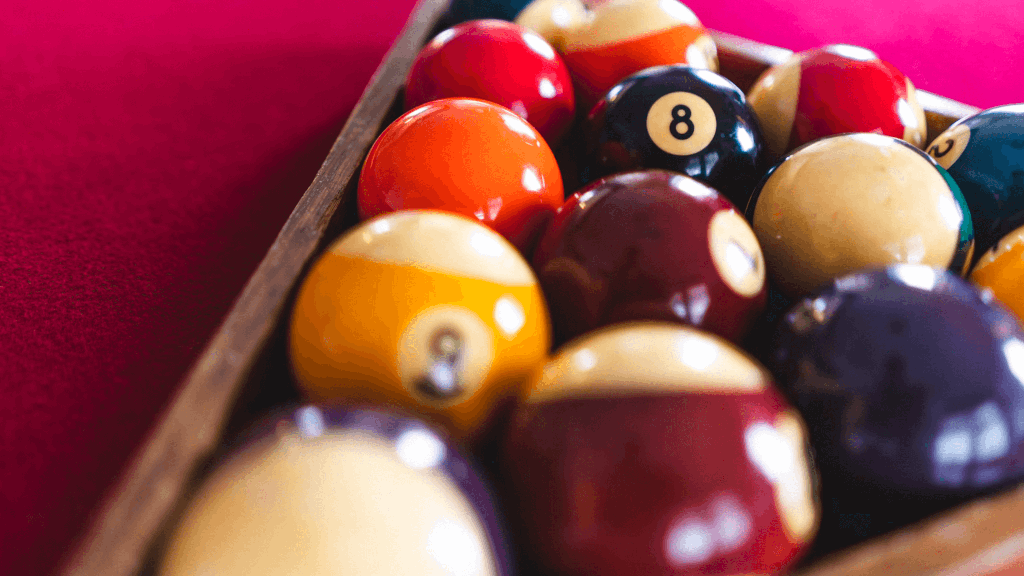
To set up a game of pool, you need to arrange the balls in a specific way. There are 16 balls in total, and they all have numbers on them. The main goal is to hit these balls into pockets using a white ball, also called the cue ball. Here’s how to arrange the balls:
-
Put the 8-ball in the middle: The 8-ball is black, and it’s an important ball in the game. Place it right in the center of the triangular rack. This rack is like a frame that holds all the other balls in place.
-
Front of the triangle: The triangle rack will hold the rest of the balls. Put the 1-ball at the front of the triangle, right on the tip. The 1-ball is usually a solid color, and it’s the most important ball to hit first.
-
Alternate the rest: After you’ve placed the 8-ball and the 1-ball, it’s time to put the other balls in. There are two types of balls: stripes and solids. They have numbers from 1 to 15. Start by putting the 1-ball, then put a stripe ball, followed by a solid ball, then another stripe, and so on, until you’ve filled up the triangle.
Remember, setting up the balls correctly is an important part of playing pool. It makes sure the game is fair and balanced for both players. Now you’re ready to start playing and trying to hit the balls into the pockets using the cue ball!
5. Tighten the Rack
To make sure the rack stays in place when you lift it off the table, you need to follow a simple step. After you’ve placed the balls inside the rack in the right order, you should gently tap the balls so that they’re all touching each other. This helps to hold the balls together and prevent them from moving around when you lift the rack. By tapping them together, you’re ensuring that the balls are snugly fitted within the rack, making it easier to lift and remove without the balls getting jumbled up.
Remember, this step might seem small, but it’s important to make sure the rack is secure before you start the game. This way, when you remove the rack, the balls will stay in the correct position, giving you a fair and accurate start to your game of billiards or pool. So, after placing the balls in the rack, don’t forget to give them a gentle tap to keep everything tight and organized!
6. Lift the Rack Carefully
To move the rack, use both hands to grip it firmly. Slowly lift the rack up from the table. Be careful not to shake it too much, as this could cause the balls to move around. The rack is useful because it arranges the balls neatly in a certain order. This helps when you’re setting up to play a game. Just remember to handle the rack gently so the balls don’t scatter.
7. Remove the Rack
After you lift the rack off the table, the balls will be arranged in a triangle. It’s important to remove the rack gently so that the balls stay in their arranged shape. Be cautious while taking the rack off to prevent the balls from shifting or rolling around. This will help keep the game set up correctly for the next player’s turn.
8. Start Playing
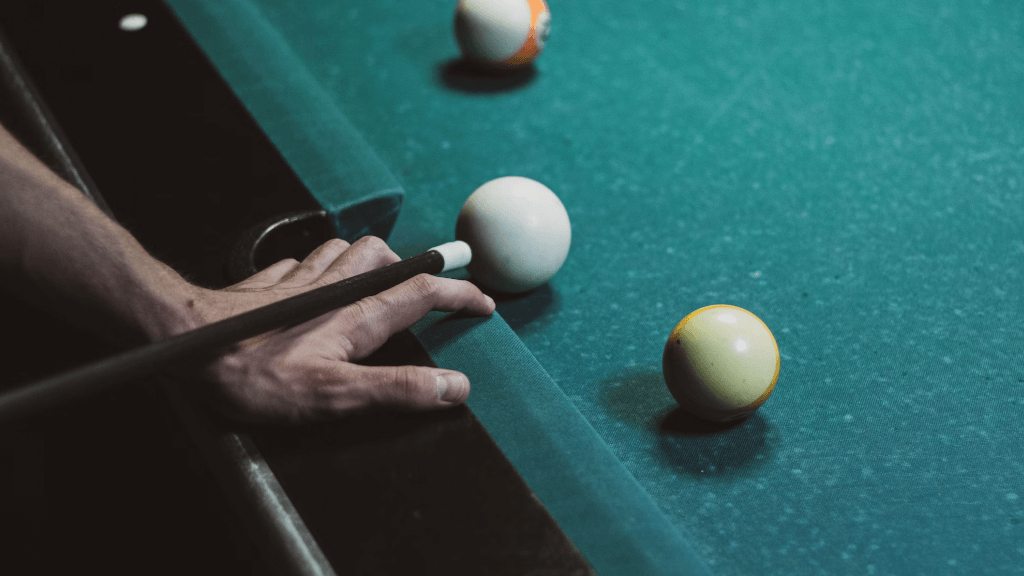
You’re ready to begin playing the game now! Imagine the table with a special white ball, called the cue ball, placed behind a line at the top. This line is called the head string. Then there are some colorful balls, and you have a special stick called a cue stick. Your job is to use the cue stick to hit the cue ball so that it hits the other colorful balls.
When you start, make sure the cue ball is behind the head string. This is important for the rules of the game. You can use the cue stick to hit the cue ball and make it roll into the other balls. Each colorful ball has a number, and your goal is to hit the balls in a specific order based on their numbers.
So, now that everything is ready on the table, you can use the cue stick to hit the cue ball and start playing the game! Just remember to follow the rules and try to hit the colorful balls in the right order. Good luck and have fun!